
Light Malt Extract Agar, popularly known as LMEA, is a key ingredient in mushroom cultivation. It's a blend of agar-agar, light malt extract, and water that creates a nutrient-rich medium for mushroom mycelium and spores to thrive. The distinguishing feature of LMEA is that it enables mycelium to grow on the surface, simplifying the observation and isolation process.
LMEA provides an ideal environment for spore germination and mycelium growth. By cultivating mycelium on agar plates, growers can selectively propagate robust, healthy mycelium and detect potential contamination before transitioning to larger substrates.
While LMEA supports the growth of various mushroom types, it can also harbor molds and bacteria, emphasizing the need for careful monitoring and control of the cultivation environment.
| Water | Agar | LME | Plates |
|---|---|---|---|
| 250 ml | 5 g | 7.5 g | ~10 |
| 500 ml | 10 g | 15 g | ~20 |
| 750 ml | 15 g | 22.5 g | ~30 |
| 1000 ml | 20 g | 30 g | ~40 |
| 1250 ml | 25 g | 37.5 g | ~50 |
| 1500 ml | 30 g | 45 g | ~60 |
| 1750 ml | 35 g | 52.5 g | ~70 |
| 2000 ml | 40 g | 60 g | ~80 |
In this step-by-step guide, you'll learn how to prepare 250ml of Light Malt Extract Agar (LMEA) for mushroom cultivation. The process takes about 10 minutes for preparation and 30 minutes for cooking, making it a quick and easy way to create a versatile growth medium.
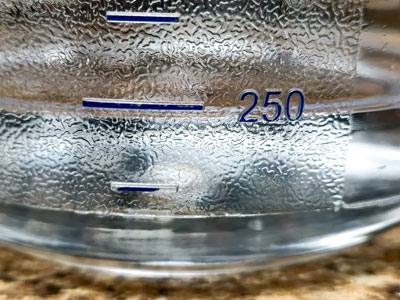
Measure the boiled water (250ml) and pour it into the glass container.
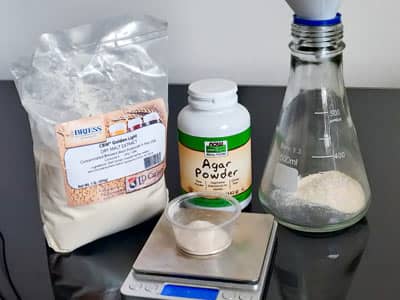
Use the digital scale to measure the dry ingredients and add them to the container.
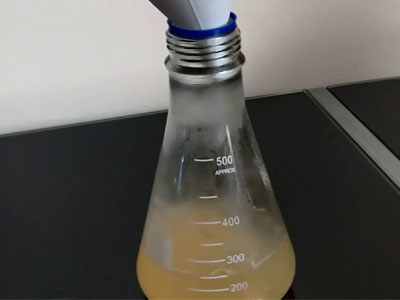
Stir until the dry ingredients are completely dissolved. The process can be facilitated by using a magnetic stir or taking advantage of the swirling motion in an Erlenmeyer flask.
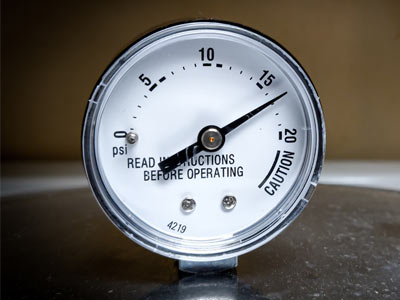
Pressure cook the mixture for 30 minutes at 15 PSI. Avoid overcooking, which can darken the mixture due to Maillard reactions between sugars and amino acids.
Pressure Cooker Tutorial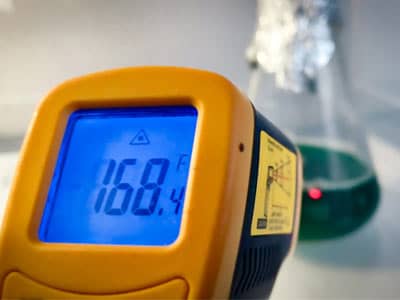
Allow the mixture to cool down to around 115-125°F (46-52°C) before pouring. If it cools too much, it will solidify. Use an infrared thermometer to ensure accurate temperature readings.

Our Amazon Storefront is a curated collection of products we recommend, hosted on Amazon. By purchasing through our storefront, you not only find quality mycology products but also support our website's growth through commissions we earn, enabling us to continue providing valuable content and recommendations.
Amazon Storefront